Showing posts with label Healthy. Show all posts

Saturday, 3 March 2018

Frozen Lunch: Chicken and Egg Wrap


In the world we are living in this day and age, all of us seem to be very busy and on the move throughout the week. Either with work or school, we sometimes find it tricky to decide on what to eat that is cheap, quick and convenient to adjust to our hectic schedules. 

Many defer to buying meals as this will save a lot of time but at the same time forgetting the extra cost they are spending and lacking the concern with the nutritional content of the food they buy. Cooking your own meal shouldn't be such a hassle if you plan it well. Plus, this will allow us to include in the healthy components to our meal and yes, this will save us a lot of money too!

Chicken and Egg Wrap is one of the perfect meals that is packed with good proteins that will fill you up instantly and last for a long time. You can make a bunch of them at one time to be frozen and you will have your meals for the week already sorted. Find out on how to do this below!


WATCH THE VIDEO ON HOW TO DO IT HERE!


INGREDIENTS


  1. 5 eggs
  2. 2 large chicken breasts
  3. 2 onions
  4. 1 large capsicum
  5. Red cabbage
  6. 1 tsp of paprika, garlic powder, cumin, salt, pepper and white pepper
  7. Olive oil
  8. 5 Tortilla bread


INSTRUCTIONS

  1. In a bowl, marinade the chicken breasts with the mixture of olive oil, paprika, garlic powder, cumin, salt and pepper. Cover the bowl with plastic wrap and let the marinade set in the fridge between 30 minutes to 2 hours.
  2. Chop onions and capsicum as well as red cabbage and set them aside.
  3. Get your pan nice and hot on medium high heat and drizzle some olive oil in the pan. Then throw in the chopped onions and capsicum. Stir once in a while and let cook till the onions are caramelised and the capsicum soften up a little bit. Set them aside.
  4. In the same pan, pour some more olive oil and grill the marinaded chicken breast for roughly 5-7 minutes on each side depending on how thick they are. Once they are cooked, take them out and set them aside to rest for a couple of minutes and start slicing them into thin strips.
  5. In the same pan again, pour a tad more olive oil and add in your eggs. Season with some salt and white pepper and start making your scrambled eggs. Once done, set them aside.
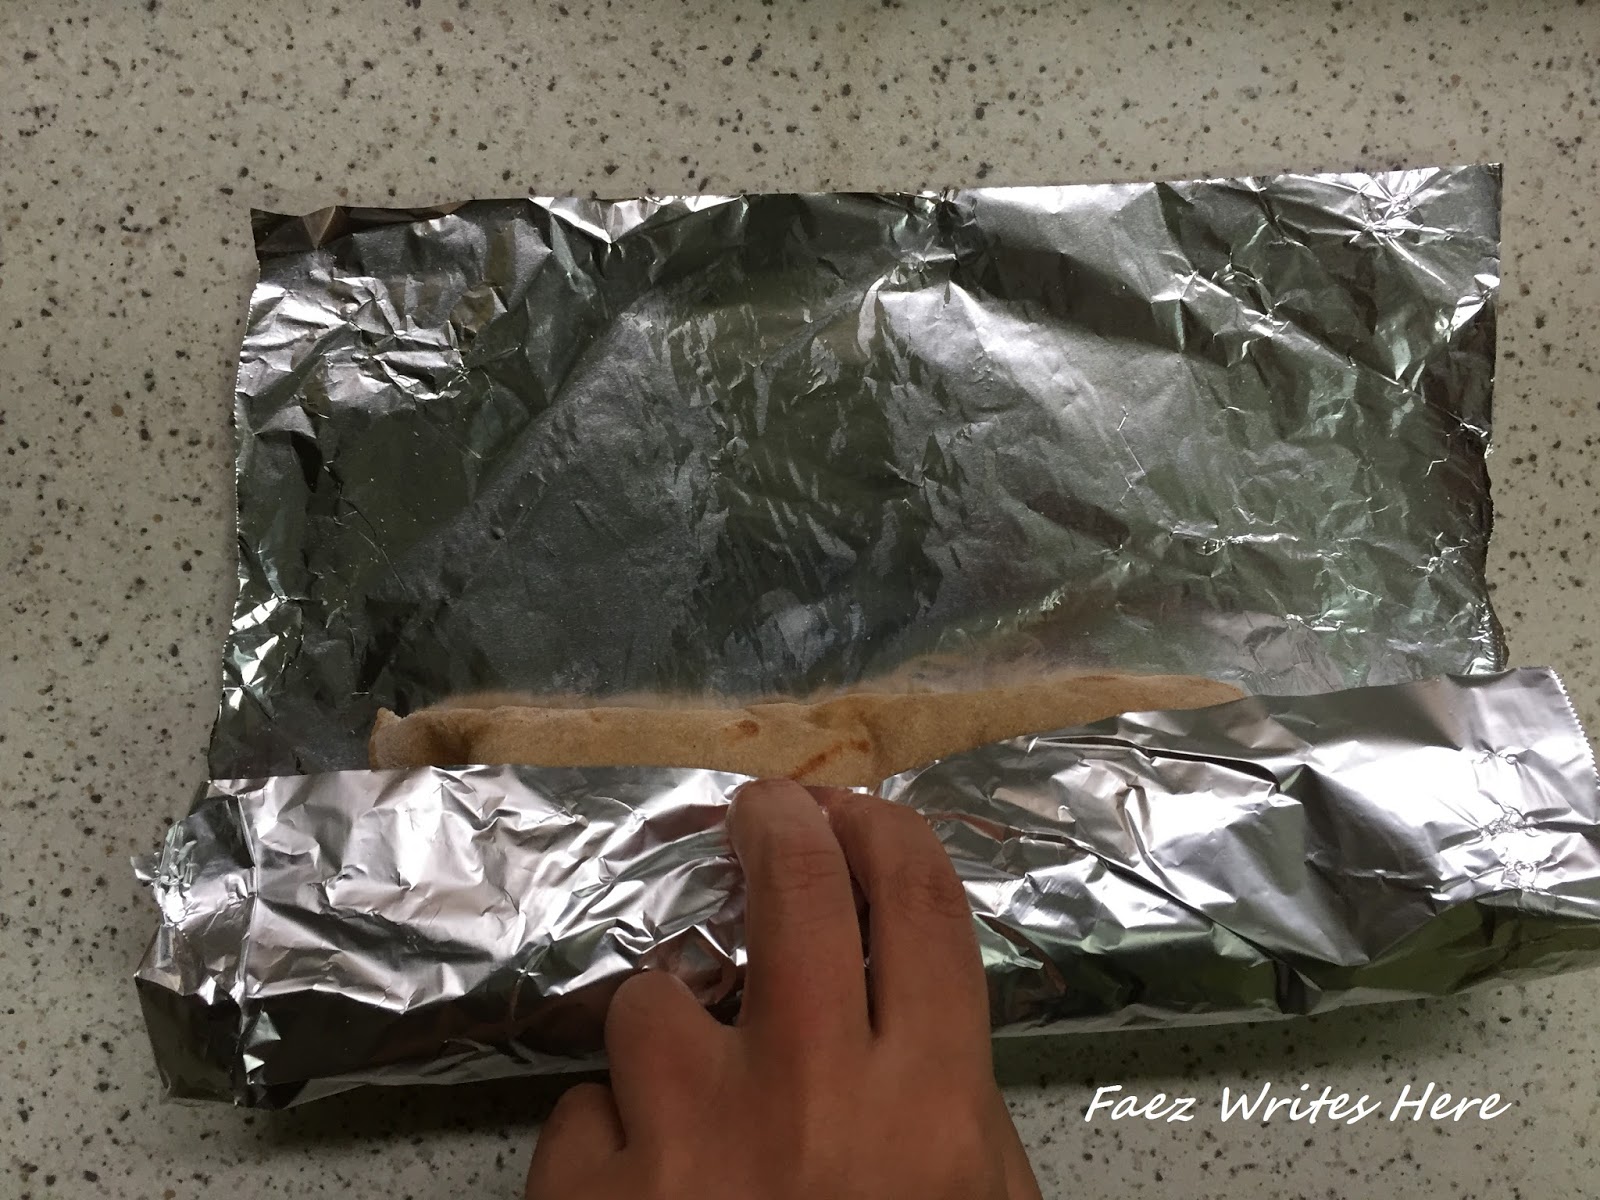
  6. Time to assemble: Place a tortilla bread on top of a piece of aluminium foil. Add a small portion of each and everything (red cabbage, onions and capsicum, chicken strips and eggs) on the tortilla and then slowly roll/fold it all together, tucking in both sides and secure the entire wrap with the aluminium foil.
  7. Repeat step 6 for the other 4 wraps.
  8. Once completed, store all the wraps in a ziploc bag. Place the bag in the freezer for your weekly consumption.


SUGGESTIONS

  1. I live in the hot tropical country of Malaysia and the frozen wraps will definitely be 'defrosted' by lunch time. If you're in the colder climate, I suggest you cover the wrap with tissue and reheat it in a microwave in your office pantry.
  2. Do not add any condiment in the wrap to be frozen as this will make the wrap soggy. Pack the condiment in a separate container and turn it as a dip for your wrap instead.
  3. You can also make your own flat bread instead of using the store-bought tortilla. The recipe for the flatbread could be read HERE.
  4. The longer you marinade the chicken, the better it will taste.
  5. The process of folding the wrap requires practice. Look on Youtube for some tutorials.


Sunday, 14 January 2018

Homemade Flour Tortillas / Flatbread


Flatbread or tortilla is said to be one of the oldest forms of bread in human history. Not only it is so quick and easy to make, but it also very delicious. It can be eaten in many ways. Whether dipping in your favourite curry gravy or turning them into a complete wrap packed with awesome flavours!

Most recipes out there include the use of oil or butter but this recipe is based on the very basic of ingredients. It's healthier and very convenient for you all to give a go at this.

You can also find the similar recipe for chapati HERE.


INGREDIENTS
  1. 2 Cups of plain flour
  2. 1 tsp of salt
  3. 1 tsp of baking powder
  4. 1 Cup of warm water


SEE THE VIDEO ON HOW TO MAKE THIS BELOW.


INSTRUCTIONS
  1. In a bowl, add in the flour together with salt and baking powder. Give a quick stir.
  2. Pour in 1/4 of the warm water and mix with the flour. Repeat this step until you use up all the water (4 times) and you'll end with a manageable sticky flour. 
  3. Knead for 5 - 10 minutes until you get a smooth soft dough.
  4. Divide the dough into 5 and let them rest in the bowl for 15 - 20 minutes, covered with a warm cloth. 
  5. On a flat surface, sprinkle some flour.
  6. Flatten the small dough and start kneading until you get a thin, round shape dough.
  7. On a medium heat, place the rolled dough on the pan.
  8. In roughly 30 seconds to a minute you'd see bubbles started to form on the dough and the colour will change.
  9. Flip and cook on the other side for another 30 seconds or so while patting down on where bubbles are formed to release the air from the bread.
  10. Done and enjoy!


SUGGESTIONS
  1. REFERRING TO STEP 2, TRUST ME, DO NOT ADD IN  THE WATER ALL AT ONCE AS THIS WILL MAKE IT VERY DIFFICULT FOR YOU TO KNEAD THE DOUGH.
  2. While kneading the dough, if you must, adjust by adding in some more flour if the dough is too sticky or add in a little bit more water if the dough is too dry.
  3. Forming the dough to a round shape requires skills and experience. Do not get frustrated if you do not end up one. It took me at least 20 attempts to be able to get one acceptable round tortilla.
  4. If you're making them in a large quantity, do cover the ones you have finished cooking under a cloth or in a container to ensure moisture of the bread won't evaporate, thus keeping them soft to eat.
  5. If you're making the breads for later consumption, keep them in an air tight sealed bag and store them in the fridge. 

Monday, 23 January 2017


Easy To Make, Healthy, Delicious, Budget Chicken Wrap Recipe


It’s healthy, fulfilling, easy to make and most importantly, delicious. With a few basic easy – to – get ingredients, you’ll be able to make your very own chicken wrap!


Most of us have the regular 9 to 5 working hours and spend most of the hours sitting at our desks. We are always occupied with all the paperwork, spreadsheets, returning emails and so on and so forth. 


When it comes to our lunch break, we tend to settle on having our lunch at the restaurant nearby or worse – at a fast food chain. The appetite we build from the hectic morning will highly lead us to choose meals that are unhealthy and costly as well – you could easily spend RM20 per meal in KL.


If you keep record of the unhealthy meals you devoured and its costs in a month, you’d be shocked of how unhealthy they are and how costly they add up to your monthly expenses. Unhealthy and expensive, definitely a lose – lose!


There are many recipes out there that offer wide selection of healthy and budget meals and yes, these healthy and budget meals can be tasty and very simple and quick to prepare too! One of them is the chicken wrap!  

With around RM25/week and 30 - 45 minutes of your time a day, you can enjoy these amazing healthy wraps throughout your entire work week without any guilt.

Here’s how you make them;


Ingredients (to make one chicken wrap)


 A. For the marinade:

·         1/3 of a medium chicken breast – cut to strips or pieces
·         1 tsp of cumin
·         ½ tsp of garlic salt
·         ½ tsp of salt
·         ½ tsp of pepper
·         ½ tsp of paprika


 B. Vegetables:

·         Few leaves of Romaine lettuce
·         4-5 cherry tomatoes
·         Half of medium-sized onion


 C. Others:
·         Flatbread– for homemade healthy, simple recipe, get recipe at http://faezwriteshere.blogspot.my/2017/01/cheap-simple-healthy-and-delicious.html
·         Dressings or condiments of your choice (preferably low calorie, low salt, low fat)
·         Olive oil for cooking


Steps
1.    Mix all of the ingredients from A and let them marinade in the fridge for at least 20 minutes - I usually do it overnight for maximum flavour. Also, make sure the chicken is dry. You could also add in a little bit of olive oil to help the spices to coat evenly.

Cover with plastic wrap!


2.     While the chicken is marinating, slice some onions and cherry tomatoes.

3.     Heat a non-stick pan on medium heat and add in about a table spoon of olive oil. Once hot, toss in the sliced onions and cherry tomatoes in the pan. Wait for about 3-5 minutes or till they are all soft.

Wait until they have soften


4.     While waiting for the vegetables to soften up, place a flatbread on an aluminium foil (shiny side faced up). Roughly tear some romaine lettuce and place it on the centre of the flatbread.

Leave some gaps at the two sides of the bread


5.     Remove the onions and cherry tomatoes aside and place in the chicken marinade on the pan – you may need to add a little bit more olive oil to the pan. Cook the chicken around 3 minutes on each side.

Make sure they are cooked through


6.     Once the chicken is cooked all the way through, add the onions and cherry tomatoes in with the chicken and give it a quick mix. I roughly mash everything up the to smaller pieces simply to better infuse the flavours of the vegetables with the chicken.

Mash and mix!


7.    Then place every-single-bit that is in the pan onto the flatbread.

8.    Add in your choice of dressings/condiments/sauce.

The fun part: assembling this bad boy!


9.    Fold two opposite sides of the bread over the filling. Then, as best as you can, carefully wrap the bread (with the foil) and make sure you get all the filling inside the wrap. Finally, tuck in the two end of the foil to secure the wrap.

Fold both sides in

Roll them over


10.  Done! So all you need to do, is put it in the fridge before taking it to work the next day!

One amazing wrap, rich with flavour, done!


As you can see, it’s a pretty straightforward and simple recipe. But the flavours that you get is amazing! One of the best things about the wrap is that you can totally experiment it with muchly any spices you like – coriander, curry powder, turmeric powder etc. and top it with any other vegetables you love - bell pepper, chilli, herbs etc. You can even use different kinds of protein sources – beef, eggs etc., heck, you can even make a vegetarian wrap with humus spread! The alternatives are limitless. Adjust them to your taste but just make sure you stick to the healthy side!

Give this recipe a try! With under 45 minutes and minimum effort, you’ll get a decent, delicious, healthy and budget meal!

Monday, 16 January 2017

Cheap, Simple, Healthy and Delicious Flatbreads - The easiest flatbread recipe on earth!


Cheap, Simple, Healthy and Delicious Flatbreads


The easiest flatbread recipe on earth!


Large Healthy Flatbread :)


Chapati, roti, tortilla, call them whatever you like, the flatbreads have been around for so many years and can be found in many different cultures all across the globe. The main and basic ingredients needed for these flatbreads are relatively very simple – flour, salt and water. That’s it! And they are so easy to make at home!


You can also be very creative in making your own flatbreads. You can use different kinds of flour such as regular plain white flour or wholemeal flour and adding in optional ingredients as well, to alter the taste according to your desire such as sugar, curry powder, black pepper, yoghurt, milk, oil and loads more.


However, in order to make flatbreads that are healthy, I personally believe it is safe and best to just stick with the basics – flour, salt and water. So, here’s how I make my healthy flatbreads.


The main dry ingredients

Ingredients (to make 5 large flat breads)       

  ü  2 cups of atta flour
  ü  1 cup of warm water
  ü  1 teaspoon of salt
  ü  1 ½ teaspoon of baking powder

         I use the atta flour which is the Indian wheat flour that is low in fat and very high in protein content. It is the healthier choice compared to the regular plain white flour. 

   Check out the nutrition facts of atta flour; http://www.strfri.com/foods/view/Atta.jsp


Utensils

  ü  Dough roller
  ü  Spatula
  ü  Flat Pan


Steps

      1.     In a bowl, add in two cups of atta flour, a teaspoon of salt and one and a half teaspoon of baking powder. Give it all a quick mix.


      2.       Then pour in one cup of warm water – a little bit at a time! I do this by;
a)     Add ¼ cup of warm water
b)     Mix the water and flour with a spoon/fork
c)     Repeat step a and b till all the warm water and flour are mixed together and start to form a  dough.

      
Add water a little bit a a time!


Trust me, this will make the dough formation process a lot easier and less messy compared to adding the whole cup of water on one go.

Till you got to this point, you can use your hands. Get in there!


     3.       Knead the dough for 5 – 10 minutes. You may need to add a little bit more water or flour until you get a smooth, soft and not too sticky dough.


This is what you want


     4.       Divide the dough to 5 little balls of dough. Then cover the bowl with a plastic wrap/damp cloth -this is to avoid loss of moisture of the dough that will result in your bread to be less soft. Leave them to rest for 15 – 30 minutes.

Size - a little big bigger than a golf ball

    
      5.       After leaving the dough to rest, sprinkle some flour on a dry and clean surface - make sure your hands are completely dry as well.


     6.       Take one small dough (leave the rest covered) and gently flattened it out a bit. Then cover the flattened dough with some flour and place them on the lightly floured surface.

Flatten it just like this


     7.       Using a roller, gently roll the dough into a thin round shape. Sprinkle some more flour on the surface and dough if the dough starts to stick to the surface. Don’t be demotivated if you can’t shape the dough to a perfectly round shape. You will get better with practice. Just make sure they are flat and have no holes on them.

I'm still struggling to get the perfect round shape myself :(


     8.       Then heat your flat pan on a medium heat. Once hot, carefully place the rolled dough on the pan.

Make sure the heat is not too high!


See those bubbles?

     9.       Patiently wait for 30 – 40 seconds and keep your eye on it. Once you see the colour of the dough has started to change and small bubbles have started to form, flip it over. Lightly press the bubbles   formed on the bread - making sure it is cooked evenly and releasing the air trapped in the bread.

Gently press the bubbles


     10.   Then take it off the pan and repeat step 5 – 9 till you finish cooking all the 5 flatbreads. They are now ready to be eaten! You can also put them in an airtight bag, store them in the fridge and reheat them before having them – best up to 4-5 days.


Save them for later ;)


So there you go; the recipe for healthy flatbreads. What I love most about this recipe is that it is so cheap and simple to make, plus, they are indeed healthy as I know what the ingredients are (no added preservatives, fat, sugar, etc.) and the exact amount of each ingredient I put in. Oh and yeah, they taste amazing! You can have them with curry or dhal, whatever you like, but my personal favourite, to make chicken wraps with these!

Perfect to make any sort of wraps!

Hope you find this this recipe useful! Have fun making your own healthy flatbreads!